Butter Up, Butternut Squash
Like a lot of children, mine were never the most adventurous eaters. Butternut squash maybe appeared on our table once for a family meal during their childhood.
Now grown, my daughter tends toward more adventurous eating and, when we were testing these recipes, she actually announced, “I’ve always wanted to try butternut squash or some of the other squashes, but they’re big and I didn’t know what to do with them.”
Well, she dove into the deep end of butternut squash. And she liked it! That’s a win in my book—even if the child is in her early 20s!
Full transparency—none of these recipes are technically very hard, but the baking time is longer for squash, so factor that in when planning your time.
Honestly, the hardest part of any of these recipes was peeling and cutting the squash. The thick skin takes added effort to peel. In addition, the only squash available at our grocery store the day I went were quite large which made them more difficult to cut. Think trying to get a knife through a dense watermelon. Not so easy.
Pro Tip: I found out after I tested these recipes, that pricking the squash with a fork (like you would do to a potato) and microwaving it for 2-3 minutes softens up the skin, making it much easier to peel. Wish I had known this. Highly recommend trying it.
A constant variable when working with butternut squash is the shape and size available at your local store or farmer’s market. As I mentioned, the squash I ended up with were on the large side. We’re talking very large. Don’t let the size variance stop you, though. You can make these recipes work with whatever size squash you can find. If you’re cooking for large crowd and only small squash are available, grab two. Adjust on the fly. It will be ok.
Holiday Menu Alert! All three of these recipes would be simple additions to your fall and winter holiday menus.
Twice Baked Butternut Squash
Baked Garlic Butter Parmesan Butternut Squash
Roasted Butternut Squash
Simple to Make−Twice Baked Butternut Squash
Get the recipe from: Clean Food Crush
If you like twice baked potatoes, this Twice Baked Butternut Squash recipe from Clean Food Crush is the twice baked potato of butternut squash.
No eye rolling when you read the twice baked part, though, because we’re not talking that much work. It comes down to Cut, Bake, Cool, Scoop, Mix, Broil, and Serve. Easy peasy.

Three Things to know about the Twice Baked Butternut Squash recipe:
- Let’s talk prep and baking time. While not a difficult recipe, the baking time definitely pushes this out of any quick meal rotation. Plan ahead and be patient as the cooking time could vary based on the size of your squash. Our larger squash took longer to cook (more on that in a minute).
- We found our squash mixture to be a bit on the rich side, so next time we will reduce the amount of Greek yogurt. This is our preference. We suggest you try it as written and adjust based on your family’s or friends’ taste.
- Consider adding a crunchy element. Throw some breadcrumbs on top with the additional cheese prior to broiling or sprinkle sliced green onions before serving.
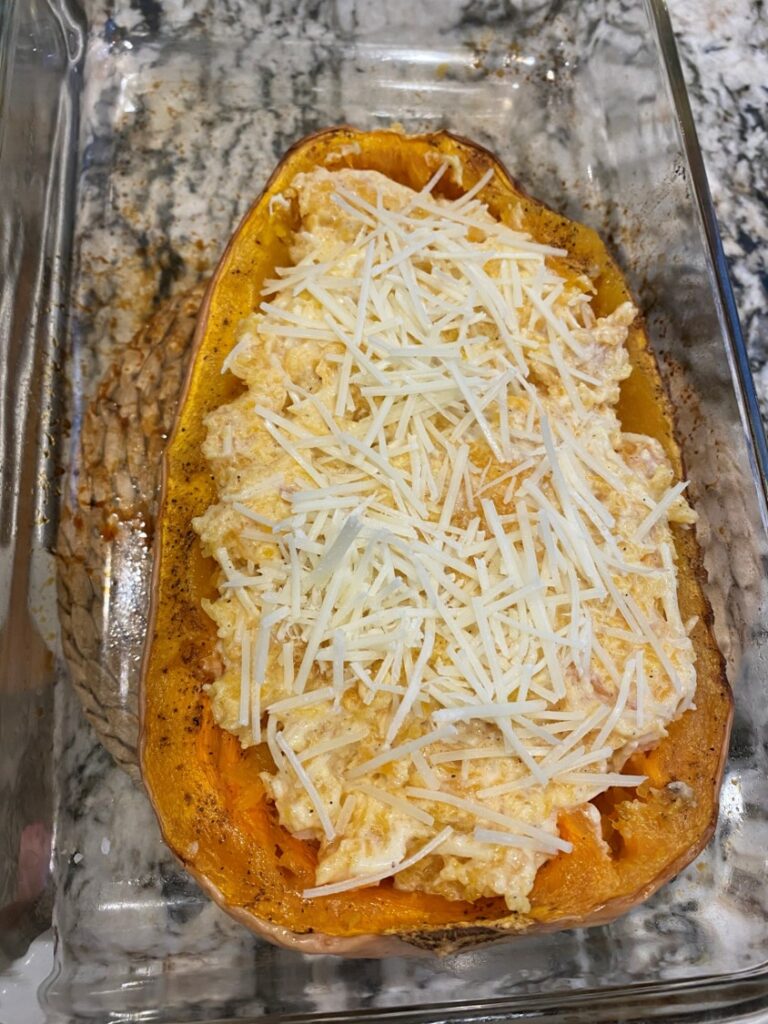
Our large butternut squash raised the initial cooking time to closer to an hour, rather than the 35-45 minutes noted in the recipe. Just keep checking your squash and doing the fork test. When your fork glides into the meat of the squash, it’s ready to come out to cool slightly. Then move on to scooping out the squash goodness, adding the mix-ins, replacing the mixture in gourd and broiling it to finish.
Overall, we would definitely make this recipe again, but maybe with the minor adjustments of reducing the amount of Greek yogurt and adding that crunchy element.
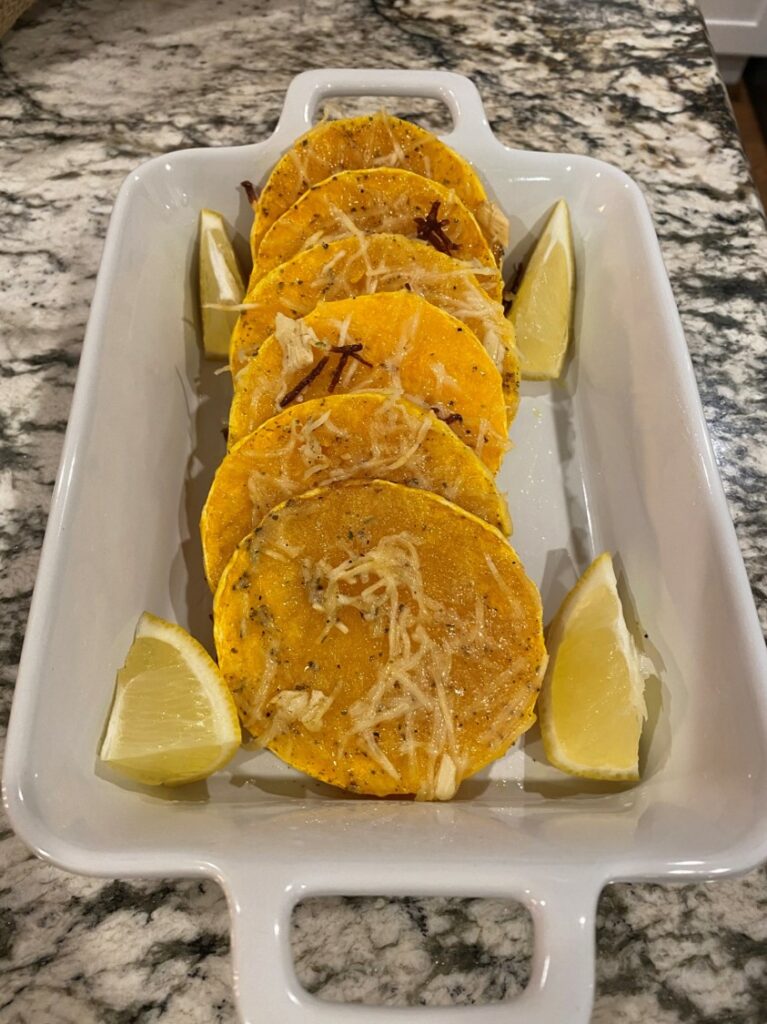
Easy to Elevate−Baked Garlic Butter Parmesan Butternut Squash
Get the recipe from: Eatwell 101
Yet another yummy butternut squash recipe. Eatwell 101’s Baked Garlic Butter Parmesan Butternut Squash recipe is perfect for a Sunday family meal or for your holiday table.
Full disclosure, I sort of messed up making this recipe, which turned out not to be a bad thing (lots more on that later).
Three Things to know about the Baked Garlic Butter Parmesan Butternut Squash:
- You can slice your squash thinner to reduce the baking time (see below).
- Play with the seasonings based on what your family or guests like (keep reading).
- Consider using a large baking sheet lined with parchment if you need or want to bake a larger quantity than fits in a baking dish.
I cut my squash in thinner slices (1/4”) than the recipe called for (1/2”) in the hopes of speeding up the baking time. Guess what? It worked. My slices were ready in about 20 minutes as opposed to 25-30 minutes. Not a huge time saver, but hey, 10 minutes is 10 minutes.
We made this in a baking dish which limited the number of slices we could fit. This worked fine for the three of us, but if you’re cooking for a bigger crowd, consider using a large baking sheet lined with parchment. With no real sauce or mess, I didn’t find a need for the high sides of the baking dish.

Now, for my confession on screwing up the recipe:
The recipe calls for 4 garlic cloves, crushed, which I added. However, when I grabbed what I thought was the pepper to sprinkle over the squash slices, I accidentally grabbed garlic powder and sprinkled that over two of the slices before I realized my mistake. (In my defense, our pepper and garlic powder are from the same spice brand and the containers look very similar.)
Well, upon tasting the final product, my garlic loving family preferred the slices with the accidental garlic powder! We didn’t feel like the other slices took on as much or enough of the flavor from the smashed garlic cloves.
Thinking more about this, another alternative for a more intense garlic flavor would be to infuse the garlic into the melted butter. To do this, either smash the garlic as noted or finely chop it. Then, add the smashed/finely chopped cloves to your butter while you melt it. This will intensify the garlic flavor. Add the olive oil to the melted garlic butter and then brush it over the squash slices. Garlic paradise!
I always play with seasoning, this time I just did it accidentally. Oops!
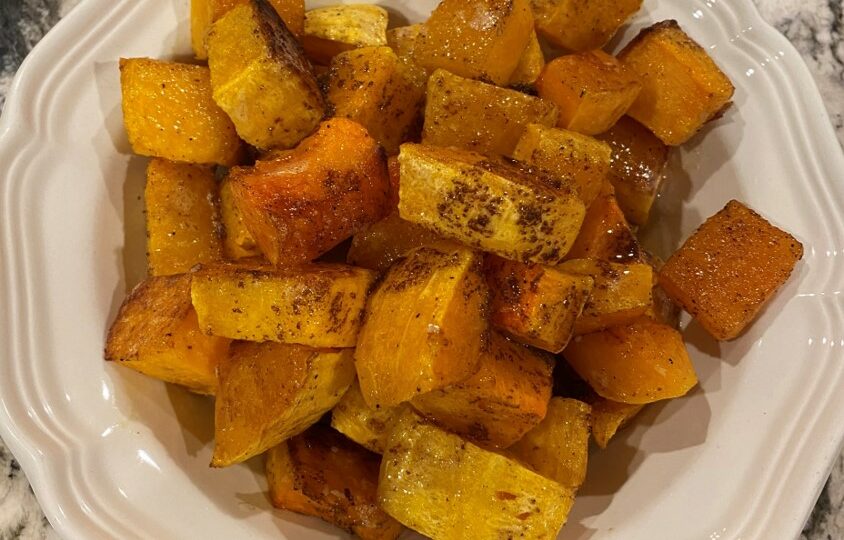
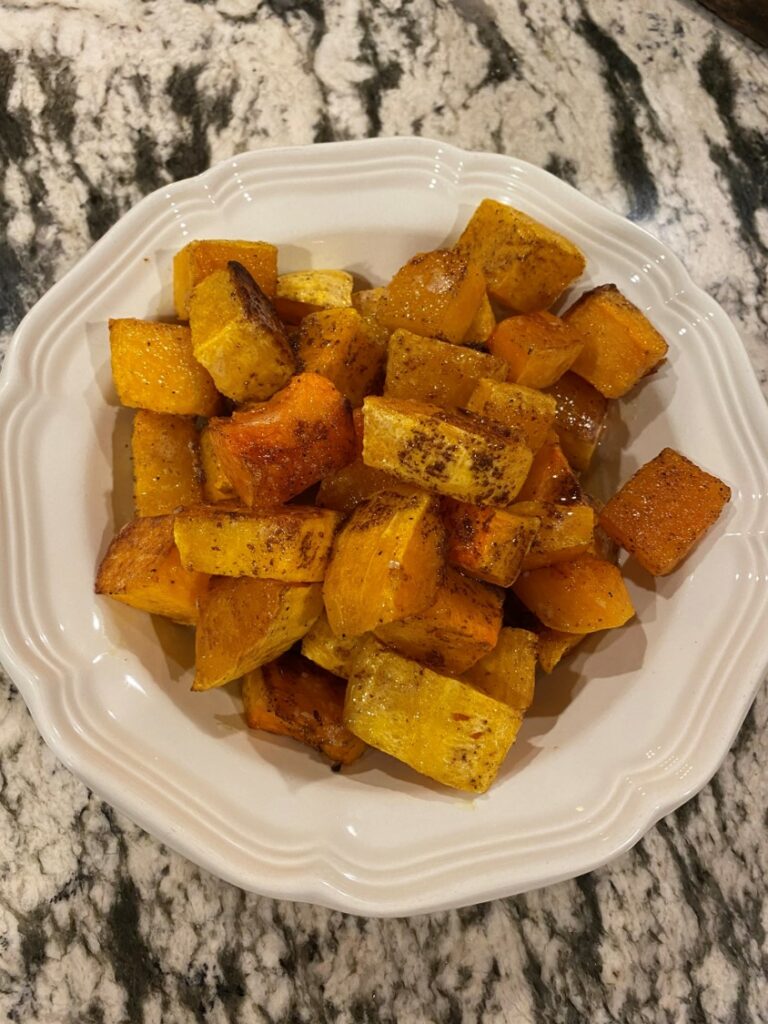
Made to Impress−Roasted Butternut Squash
Get the recipe from: Creme de la Crumb
Let’s be honest. Creme de la Crumb’s Roasted Butternut Squash recipe is no harder to make than either the Twice Baked Butternut Squash or the Baked Garlic Butter Parmesan Butternut Squash. What propelled it into our Made to Impress category is the FLAVOR! That brown butter is a difference maker (more on that later).
So, if you’re looking for something Simple to Make AND Made to Impress, this is your recipe!
You’ll want to tuck this recipe away for your fall and winter holiday menus.
Because of the main course I was cooking, I ended up baking this almost all the way through and then pulling it out and letting it sit on top of my hot oven for a bit. I was trying to get the timing right to serve everything at once and needed about 10 additional minutes for the chicken I was making to catch up in the cooking process.
Which made me think about Thanksgiving. And Christmas. And how you could start this early and then either pop it on top of the oven to keep it warm for a bit,* or transfer it to a warming oven (being careful not to let it dry out).
*By “a bit,” I mean up to about 30 minutes if your oven is hot. You don’t want this sitting out for an extended period.
You could also cook the squash almost all the way through in the morning, hold it in the refrigerator, and finish cooking it closer to meal time. If you do pre-cook it, don’t forget to thoroughly reheat it and make sure it’s fork-tender. Either way, do NOT add the brown butter until you’ve rewarmed/finished cooking the squash and are ready to serve it.
Four Things to know about the Roasted Butternut Squash recipe:
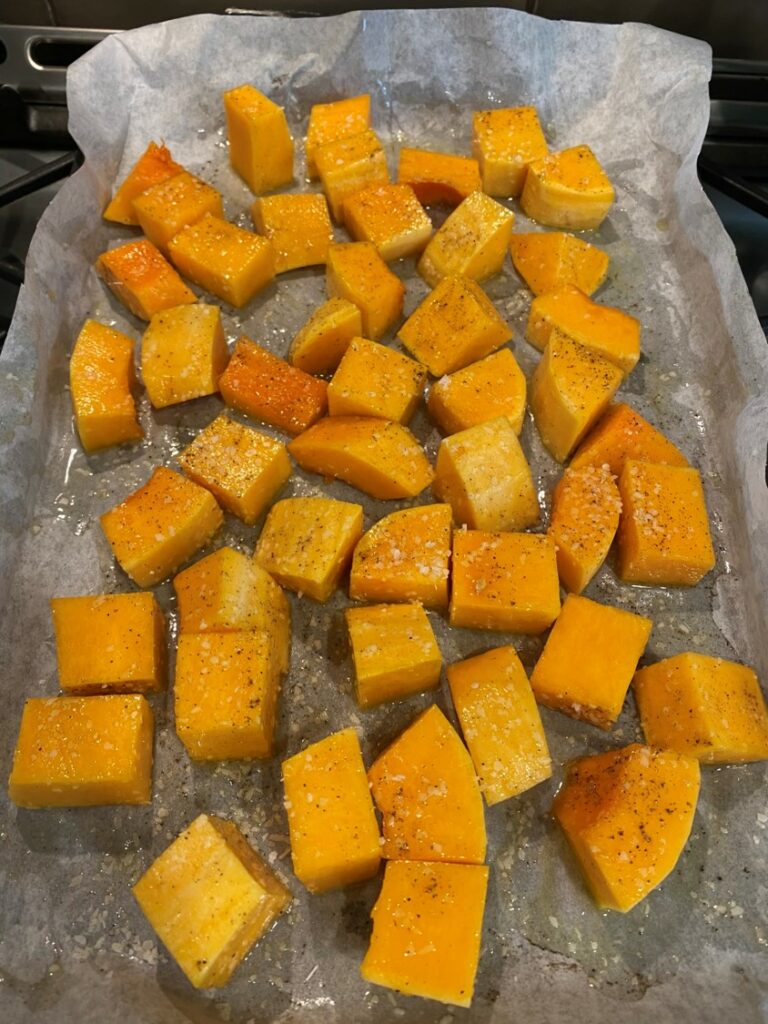
- Make sure to dice your squash evenly. Take your time and make sure your cubes are approximately the same size (the recipe calls for 1-inch cubes) so that they cook evenly. A few extra minutes here proves well worth your time.
- Spread the squash in a single layer on the baking sheet. If you have clumps or piles of squash, it will cook unevenly.
- Do NOT leave the stove while you cook the brown butter. Don’t even look away. It can go from luscious brown butter to ruined in a hot second.
- Think about serving the brown butter on the side (more on that below).
Let’s talk brown butter. If you love butter as much as I do, this is the Holy Grail of butter. Cook it low and slow to caramelize it and bring out its nutty goodness. The result is very rich, but it elevates the flavor of whatever you add it to. Remember, this brown butter is reason we made this Roasted Butternut Squash our Made to Impress recipe.
For a tutorial on brown butter, click here.
Given the richness of the brown butter, I’ll make an argument for serving it on the side. I think it’s an absolutely necessary part of this recipe and wouldn’t serve the squash without it, but if you have people who aren’t huge fans of rich food (and this brown butter brings a delicious richness to this dish), you could let them add an amount of their choosing.
Think of brown butter like pancake syrup. Some people just kiss their pancakes with syrup while others drown them. Same with this recipe. Some people may just want a taste of the brown butter while others will want ALL the brown butter.
Speaking of pancakes, brown butter would be delicious on those…I’m off to make pancakes!