
Baking Bites: Blood Orange Poppy Seed Scones
This page contains affiliate links. If you click on one of these links and complete a purchase, I will earn a commission at no additional cost to you.
I love scones. They’re the perfect cross for me between a pastry and a bread.
And there are so many options. Sweet. Savory. Sweet and savory.
Oh, my!
How will I ever test all the scones?
One by one. That’s how.
And I’m starting with blood orange scones because it’s the dead of winter and I have a surplus of blood oranges. Which isn’t a bad thing.
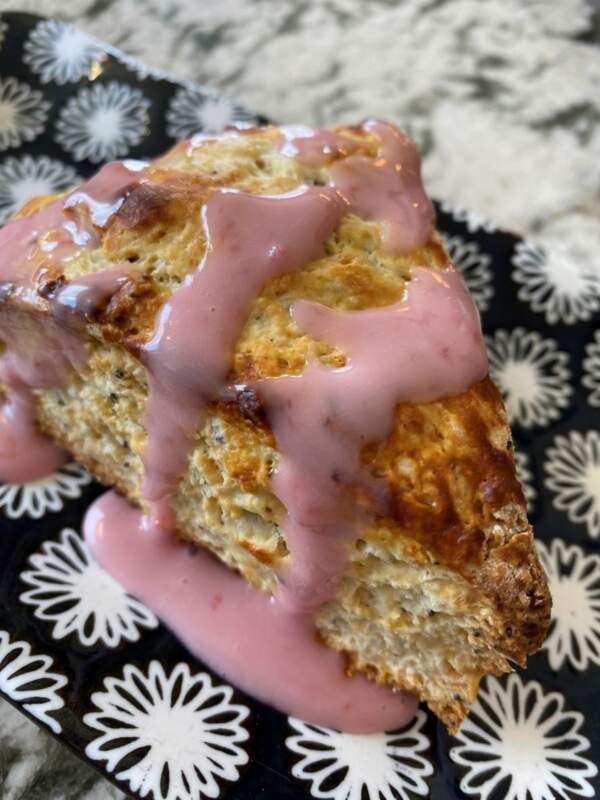
While they may look a bit bruised and battered with their mottled skin, blood oranges peel open to reveal jewel-toned flesh that ranges from deep pink to truly blood red.
Blood oranges are a bit sweeter than their orange counterparts and have a hint of a raspberry flavor to them which is unexpectedly refreshing.
Keep reading for my insights on these sweet treats.
Prefer Savory Scones?
If you’re looking for a savory scone option or are a java junkie, you’ll want to make the Coffee, Bacon and Date Scones we highlighted in this post.
Blood Orange Poppy Seed Scones
Simple to Make−Blood Orange Poppy Seed Scones
Get the recipe from: A Cozy Kitchen
If you’re a fan of scones like me and haven’t tried making them yourself, now is the time.
They’re super Simple to Make.
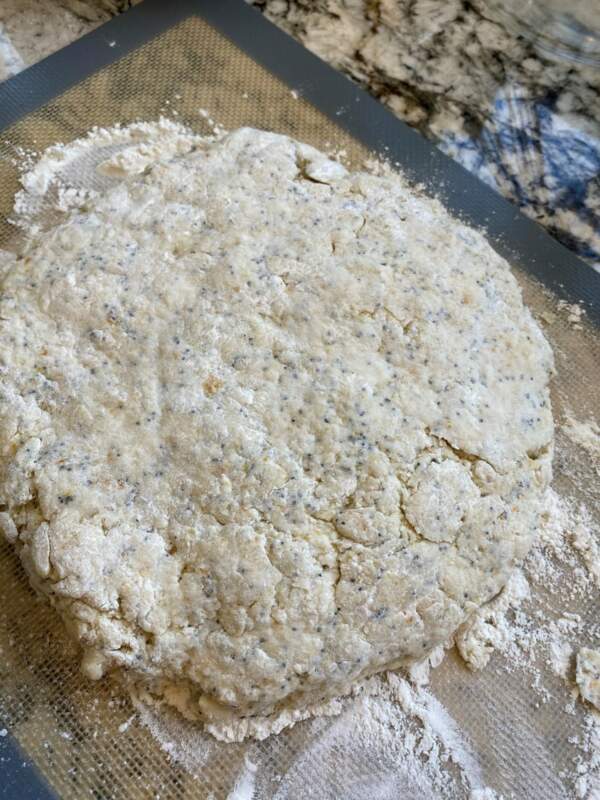
And, because they intentionally look a bit rustic after baking, the highest level skill you need is the ability to form a ball out of the dough and roll or press it into a 1 1/2 inch-thick disk.
Seriously. That is how not difficult it is to make scones.
So, why haven’t you tried making them yet?

Eight things to know about the Blood Orange Poppy Seed Scones recipe:
- If you can juice fruit, mix ingredients, and form a ball out of dough, you have all the skills necessary to make scones! They really ARE that Simple to Make. There is one key trick to keeping your scones together while they bake, so keep reading.
- Let’s talk about zesting your fruit. To really do it correctly, you should invest in a microplane grater/zester. The blades on a microplane zester are extremely sharp and very close together, giving you a finer grate than you can get with any other tool. You can get a very good microplane grater/zester for less than $12. I highly recommend getting one like this grater that comes with a blade guard. Your knuckles will thank you next time you reach into your kitchen tool drawer.
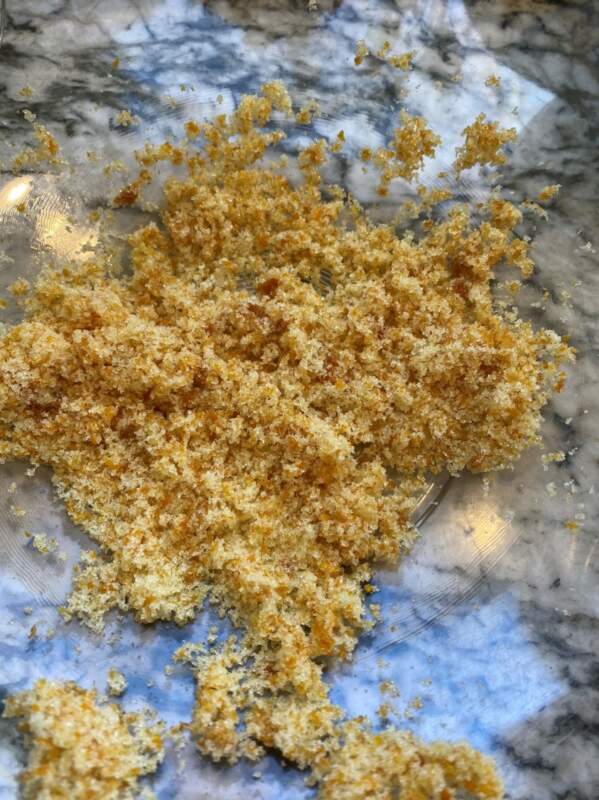
- Use your fingers and get messy mixing the blood orange zest with the sugar. Rub it with your fingers until it’s fully incorporated. The zest may be a bit sticky and you want to be sure you don’t have clumps of zest because you want that blood orange flavor throughout the scones, not just in certain bites.
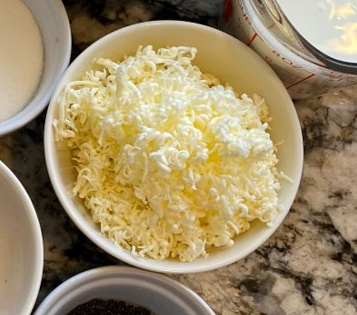
- The recipe calls for frozen grated butter which is essential to the texture of your scones. If you’re not a baker, I can’t stress the importance of this enough. Using frozen (and in this case grated) butter in the dough ensures the butter remains super cold until the baking process which, in turn, ensures a moist, flaky scone. Using frozen butter also keeps the scones from spreading out during baking. I use a box grater to grate my frozen butter and then I put the grated butter back in the freezer until just before I need to incorporate it into my dough.
- I needed more than the stated 1 C buttermilk to get my dough to come together. I’m not sure why I needed more, but I slowly added buttermilk a little at a time until the dough came together in a ball.
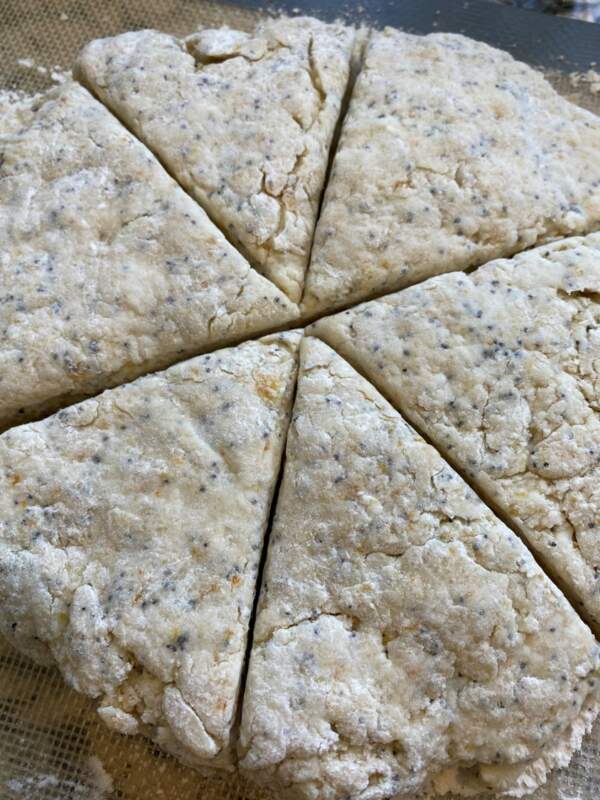
- Use the sharpest knife in your kitchen and wipe it clean between each cut of your dough. Don’t get lazy here. It’s a necessary step. The scone dough will be floured on the outside, but the interior will be sticky and your knife will pick up that sticky goodness. If you don’t wipe it, you’ll end up smushing (a technical baking term) the dough down because the knife will be sticking to the dough which will impede the rising process you’re looking for during cooking. Just wipe your sharpest knife clean with a damp paper towel between slices. Did I mention you should use your sharpest knife???
- Don’t skip the buttermilk brush before baking. This step helps you achieve a glossy, golden brown exterior.

- You may want to play with the amount of glaze if you prefer a drizzle rather than a drowning. The recipe calls for 1 C. powdered sugar mixed with the juice from 1 blood orange. I used the full 1 C. of powdered sugar, but definitely didn’t need all the blood orange juice to get my glaze to the point where I could drizzle it. I also ended up with way too much glaze, but as you can see from the photo below, I don’t like to drown my scone. So, if you like less glaze, maybe start with 1/2 C. powdered sugar and mix in the blood orange juice until you get the desired consistency.
Drop us a comment and a photo if you make these delicious scones!
Drop us a note and a photo if you make these scones. We love to see how your foodventures go!