Pair These Easy Glazed Pumpkin Scones with Your Morning Coffee
When the cool fall air greets you in the morning, warm up with one of these Easy Glazed Pumpkin Scones and a cup of coffee.
Easy to wedge into your baking schedule, these pumpkin scones require only beginner-level baking skills are ready in less than 30 minutes.
They offer a nice break from the more traditional fall pumpkin recipes. And, for those of you looking for a less-sweet option, you can always skip the powdered sugar glaze.
Looking for More Pumpkin Ideas?
Check out our other pumpkin posts:
Fall for These Pumpkin Snickerdoodles
Gifts of the Great Pumpkin Post featuring Pumpkin Muffins, Pumpkin Swirl Bread, and Pumpkin Baked Oatmeal
Want More Scones?
Check out our other scones posts:
Baking Bites: Blood Orang Poppy Seed Scones
Coffee, Bacon, and Date Scones
Gotta Have Some Coffee with Those Scones?
If you’re a coffee junkie like me, check out our coffee posts:
Our Spice Up Your Home Brew with These Warm Winter Flavors post includes Spiced Coffee Drink wtih Maple Cream, Thai Iced Coffee, and Home-Made Pumpkin Spice Latte Syrup/
Pumpkin Spice Latte
Go On a Home-Brew Adventure with Mexican Iced Coffee
Decadent Iced Coffee with Cream Froth
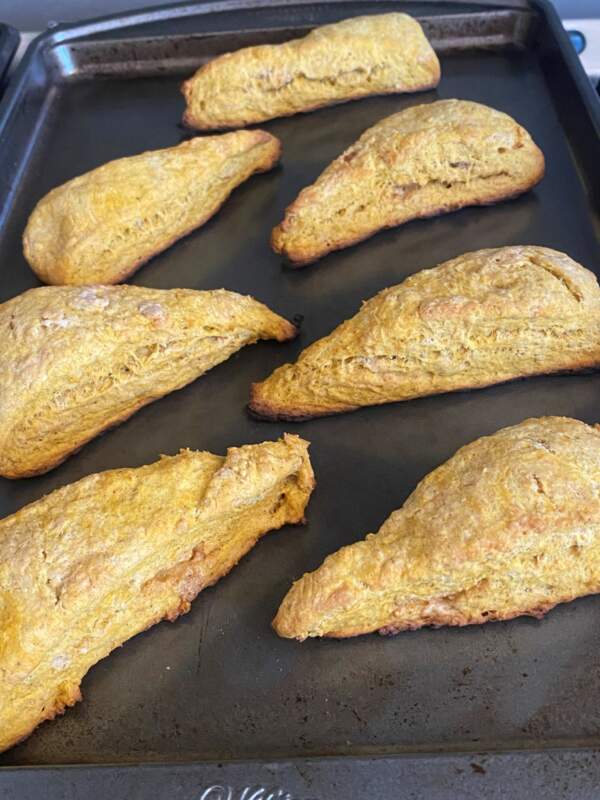
Easy Glazed Pumpkin Scones
Simple to Make−Easy Glazed Pumpkin Scones
Get the recipe from: Butter with a Side of Bread
I love to bake. But I know not everyone is comfortable with it.
So, if there’s one baked good I’d recommend a novice or hesitant baker try, it’s scones. They’re fast and pretty much no-fail.
Plus, there is no perfect form when it comes to a scone. Scones are rustic in shape, which makes them a less stressful baked good.
They’re practically screaming for you to try them!
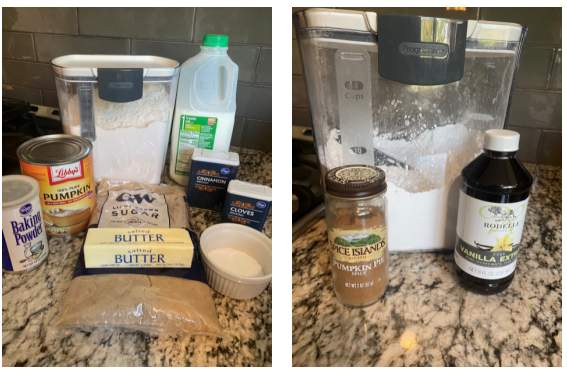
Five things to know about the Easy Glazed Pumpkin Scones recipe:
- Scones are one of the simplest things to bake. If you’re not a baker, don’t worry. These scones don’t require any advanced baking skills and are ready in less than 30 minutes. They’re the perfect thing for novice or beginner bakers.
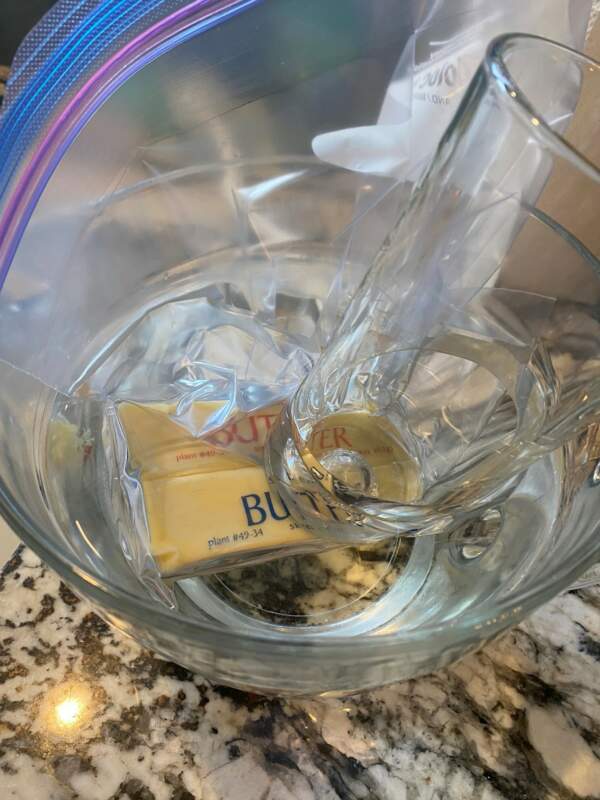
- Pro Tip: How to quickly soften frozen butter. If you’ve ever forgotten to set out your butter to soften, don’t worry! You can quickly soften butter by dropping your wrapped stick of butter into a Ziploc, closing the Ziploc removing the air in the bag, dropping the Ziploc into a bowl of warm (not hot!) water, placing a heavy glass (or other heavy object) on the bag to keep the butter stick(s) submerged, and waiting 20-30 minutes. Your butter will be perfectly softened!
- Pro Tip: If you’re going to grate your butter, make sure it’s frozen. It seems obvious to say, but you can’t grate softened butter and you won’t want to grate butter out of the fridge. You need to use frozen butter and grate it on the smallest holes of your grater. Frozen butter grates well and incorporates well into the dry ingredients. If you’re grating it in advance of making the scones, be sure to pop the grated butter back into the freezer until you need it.
- Don’t over mix or over knead the dough. When it comes to scones, mix the wet ingredients into the dry ingredients just until the dough forms. Then stop. You also don’t want to over knead the dough. You’re just bringing it together and if you knead it too much, your scones won’t rise. Less is more when it comes to mixing and kneading scone dough!

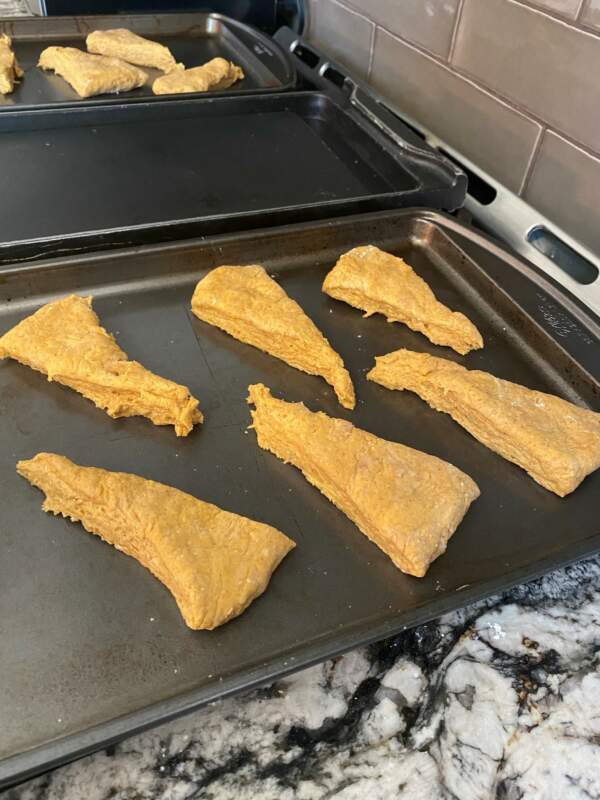
- Pro Tip: When cutting your scone dough, use the sharpest knife in your kitchen and wipe it clean between each cut of your dough. Don’t get lazy here. It’s a necessary step. The scone dough will be floured on the outside, but the interior will be sticky and your knife will pick up that sticky goodness. If you don’t wipe it, you’ll end up smushing (a technical baking term) the dough down because the knife will be sticking to the dough which will impede the rising process you’re looking for during cooking. Just wipe your sharpest knife clean with a damp paper towel between slices. Did I mention you should use your sharpest knife???
- Check the bottom of your scones as they bake. You can quickly go from perfectly baked scones to burned bottom scones in a matter of minutes, so check the underside of your scones and then poke a toothpick into the center of the scones to check for doneness. If the toothpick comes out clean, the scones are done!